

Layup and autoclave curing
Prepreg plies stacked on a mold, vacuum-bagged and cured under heat and pressure
Layup builds a part from thin sheets of fiber cloth already soaked in resin, stacked on a mold one sheet (ply) at a time. The stack is sealed in a vacuum bag and cured under heat and pressure in an autoclave (a pressurized oven). This is how aircraft wing skins and Formula 1 chassis get very high strength at very low weight.
How it works
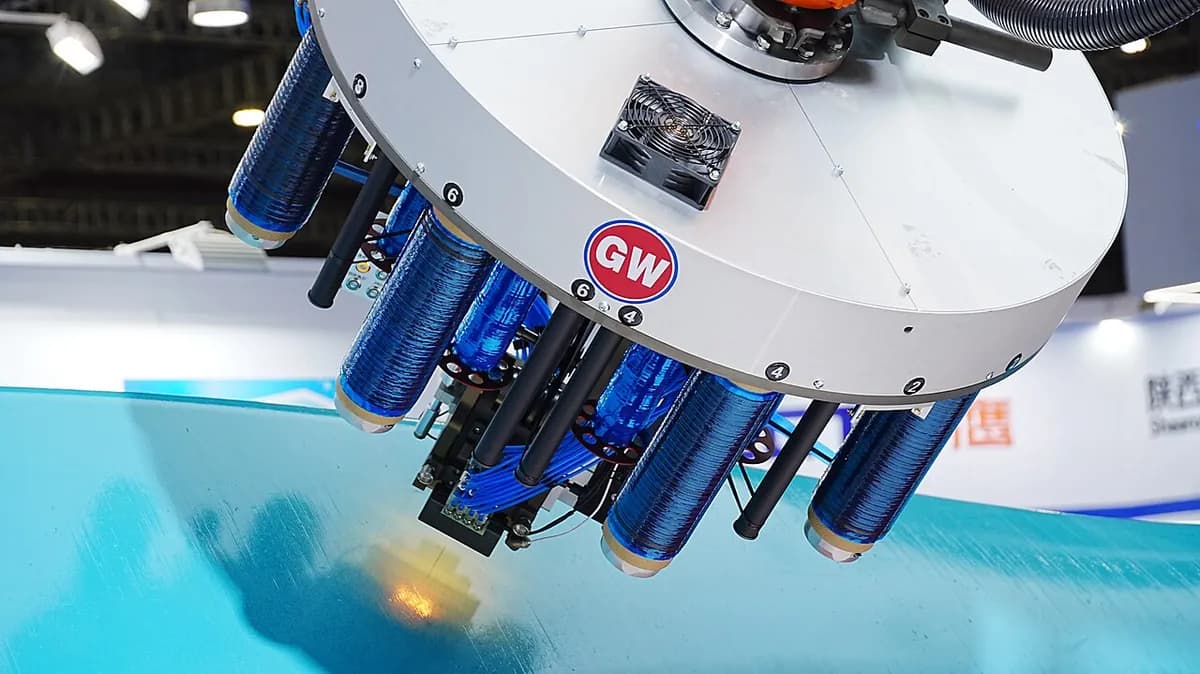
Cut and lay up the plies. Prepreg (fiber cloth or tape already soaked in partly cured resin, kept frozen until use) is cut to shape and stacked on the mold. Each ply's fibers point in a planned direction; robots (automated fiber placement) lay the largest aircraft parts.
Bag it and pull a vacuum. A peel ply (a fabric that tears away later), a breather cloth (a felt that lets air travel) and a plastic bag film go on top. Sticky sealant tape seals the bag to the mold. A pump then sucks out the air, so outside air presses the stack together and trapped air escapes.
Cure in the autoclave. The autoclave heats the part, typically to 120–180 °C. The gas inside is pressurized to about 3–7 bar, three to seven times normal air pressure, squeezing the bag. The resin softens, flows and wets the fibers, then cures (cross-links into a hard solid) over a few hours.
Demold, trim and inspect. After a slow cool-down, the bag layers are stripped and the part lifts off the mold. Edges are trimmed and holes drilled. Critical parts are scanned with ultrasound for voids (trapped bubbles) or plies that failed to bond.
Key facts
- Materials
- Carbon, glass or aramid (a tough synthetic fiber) prepregs, mostly with epoxy resin; honeycomb or foam cores for sandwich panels
- Typical parts
- Wing and tail skins, fuselage panels, helicopter blades, Formula 1 chassis, satellite panels
- Part size
- From palm-sized brackets to wing skins tens of meters long; limited by the autoclave's inside size
- Precision
- Shape typically within about ±0.2–0.5 mm of the mold; each ply is about 0.1–0.3 mm thick
- Surface finish
- Mold side smooth and often glossy (a copy of the mold); bag side lightly textured by the peel ply
- Batch size it suits
- One-offs to a few thousand parts a year
- Tooling and machine cost
- Molds from about $1,000 (small parts) to $1 million or more (large aircraft tools); autoclaves from hundreds of thousands to many millions of dollars
- Speed
- Layup takes hours to days per part; one cure cycle typically takes about 3–8 hours, heat-up and cool-down included
Strengths and limits
Strengths
- Best strength-to-weight of the common composite routes
- Very few voids (typically under about 1–2 %) thanks to the pressure
- Fibers placed exactly where the loads go, ply by ply
- Repeatable, well-documented quality, trusted for aircraft certification
Limits
- Slow: hours of skilled hand work plus hours of curing per part
- Costly: prepreg must be stored frozen and has a limited life; bags and cloths are thrown away
- Part size is capped by the autoclave, and big autoclaves are expensive to buy and run
- Cured thermoset parts cannot be melted down, so recycling is hard
Where it's used
- AerospaceWing and tail skins, fuselage panels, flaps, helicopter rotor blades
- SpaceSatellite structures, antenna reflectors, launcher fairings
- MotorsportFormula 1 chassis (the driver's survival cell), wings, body panels
- SupercarsCarbon roofs, hoods, aero parts, some chassis tubs
- MedicalX-ray table tops (carbon lets X-rays through), prosthetic feet
How to recognize it
- One very smooth, often glossy face (the mold side) and one slightly textured face printed by the peel ply.
- On cosmetic parts, a woven checkerboard of carbon visible under clear resin.
- Thin stacked layers at cut edges, and edges and holes that were machined after curing.
- Thin shells or sandwich panels, sometimes with honeycomb visible at an open edge.
Compare with
Watch it
PolyU IC · The basic idea of autoclave curing, step by step
Pressure Equipment Academy · The whole route from layup to a cured aircraft part
Matthieu Libeert (Mat's Prototyping) · Ply layup and vacuum bagging, up close
Composites Central · Robots laying fiber tape on big aircraft molds
See real photos
- Wikipedia: Pre-preg — prepreg materials, storage and autoclave curing, with photos
- Wikimedia Commons photo search
Remember
- Prepreg plies are stacked by hand or robot, each with its fibers pointing a planned way.
- A vacuum bag, then autoclave heat and pressure, squeeze out air and harden the resin.
- It gives the lightest, strongest parts, but it is slow and costly.
More in Composites
All 100 processes
Try it
Put AI to work in your CAD.
Model parts, generate drawings and automate the repetitive work inside your CAD software.