

Stereolithography (SLA/DLP)
Hardens liquid resin layer by layer with a laser or projector (vat photopolymerization)
Stereolithography (SLA) turns liquid resin into a solid part by hardening it with UV light, one thin layer at a time. Its cousin DLP (digital light processing) does the same with a projector. Dental labs use both every day to print models for aligners and crowns, because they give the finest detail of the common 3D printing methods.
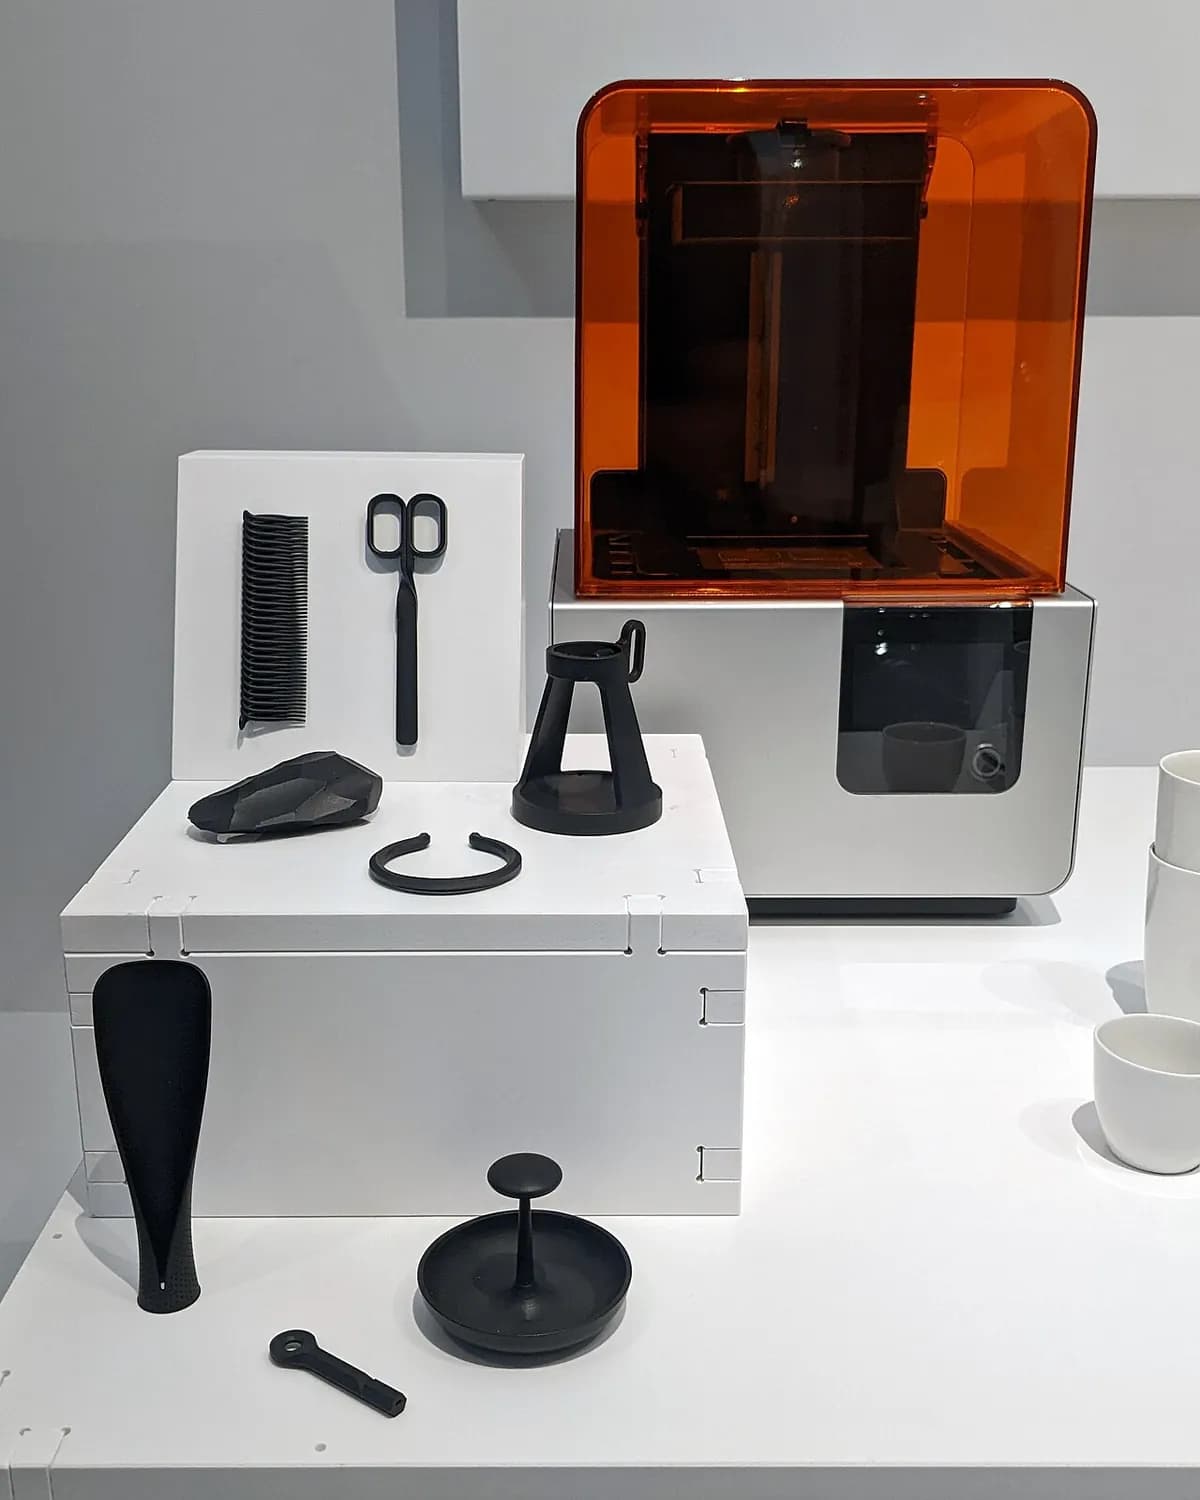
How it works
Slice the model. Software cuts the 3D model into thin layers and adds supports (thin breakaway struts) that hold the part to the platform.
Dip the platform. The build platform lowers into a tank of photopolymer resin (a liquid plastic that hardens under UV light). It stops one layer above the tank's clear film floor, typically 0.025–0.1 mm.
Cure one layer. UV light shines up through the film and hardens the thin sheet of resin in the shape of the slice. In SLA a laser traces it with a fast-turning mirror; DLP and LCD printers light the whole layer at once.
Lift and peel. The platform rises and peels the new layer off the film, so fresh resin flows in underneath. Steps 2 to 4 repeat, and the part grows upside down.
Wash. You rinse the part in isopropyl alcohol (IPA) to remove the sticky uncured resin.
Post-cure. A chamber with UV light and gentle heat finishes hardening the part to full strength. Then you clip off the supports and sand the small nubs they leave.
Key facts
- Materials
- Photopolymer resins: standard, tough, flexible, heat-resistant, castable, dental and ceramic-filled grades
- Typical parts
- Detailed prototypes, dental models, jewelry patterns, miniatures, small molds, microfluidic chips
- Part size
- Typically up to 20–35 cm per side on desktop and benchtop printers; large industrial machines reach about 1.5 m
- Precision
- About ±0.1 mm on desktop machines, finer on industrial ones; details down to about 0.1 mm
- Surface finish
- Smooth and often glossy, close to a molded part; faint layer lines on curves and small marks where supports touched
- Batch size it suits
- 1 to a few hundred parts; some dental and consumer products run into the thousands
- Tooling and machine cost
- No tooling; LCD hobby printers cost a few hundred dollars, professional desktop SLA a few thousand, industrial machines hundreds of thousands
- Speed
- A few hours to a day per build; DLP and LCD are faster than laser SLA because each layer is lit at once
Strengths and limits
Strengths
- Finest detail and smoothest surface of the common 3D printing methods
- Watertight parts that are nearly isotropic (equally strong in every direction)
- Special resins for casting, dentistry, flexible or heat-resistant parts
- DLP and LCD print a full platform as fast as one part
Limits
- Most resins are more brittle than molded plastics and can yellow in sunlight
- Messy: liquid resin irritates skin, so you need gloves and ventilation
- Extra steps: washing, post-curing and removing supports
- Limited build size, and resin costs more per kilogram than filament
Where it's used
- DentalModels for clear aligners, crowns, surgical guides
- JewelryCastable ring patterns, later cast in metal by investment casting
- MedicalAnatomical models, custom hearing aid shells
- Product designSmooth, detailed prototypes of consumer products
- EngineeringSmall molds, microfluidic chips, wind-tunnel models
- EntertainmentMiniatures, figurines, film props
How to recognize it
- A very smooth, often glossy surface with almost invisible layer lines.
- A cluster of tiny bumps or pits on one face, where thin supports were clipped off.
- Crisp fine detail, such as readable small text or sharp textures.
- Often a translucent or uniformly colored, slightly glassy look.
Compare with
Watch it
Formlabs · The SLA principle, explained by a printer maker
JLC3DP · The process and its post-processing, for beginners
Adam Savage's Tested · Large industrial resin printers in a factory
MLC CAD Systems · The full print, wash and cure workflow
See real photos
- Wikipedia: Stereolithography — principle diagram and printer photos
- Wikimedia Commons photo search
Remember
- SLA and DLP harden liquid resin with UV light, one thin layer at a time.
- They give the finest detail and smoothest finish of common 3D printing, at the cost of messier post-processing.
- Every print needs washing and post-curing before it reaches full strength.
More in Additive manufacturing
All 100 processes
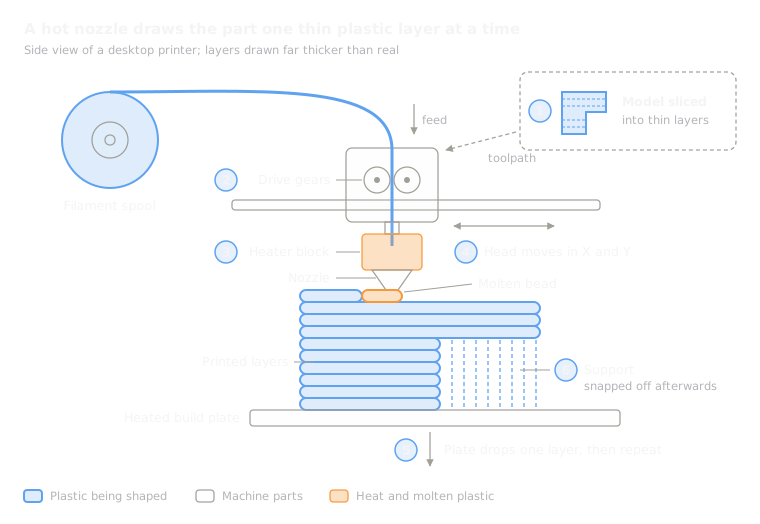 8.1ShortFDM (fused deposition modeling)Extrudes molten plastic filament through a moving nozzle (material extrusion)Open the lesson
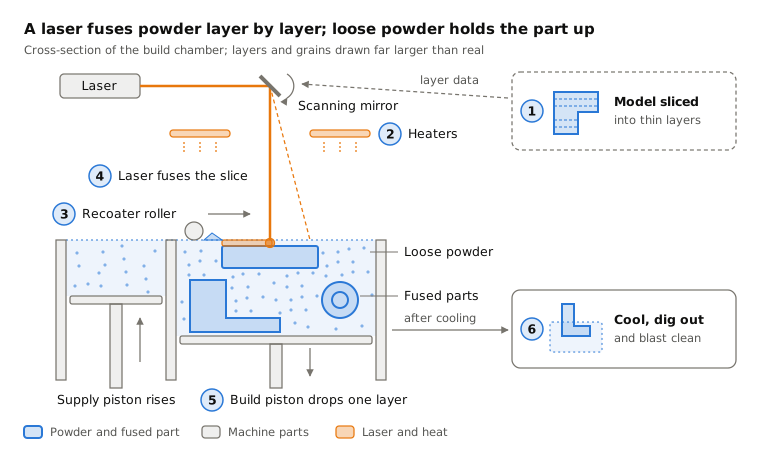
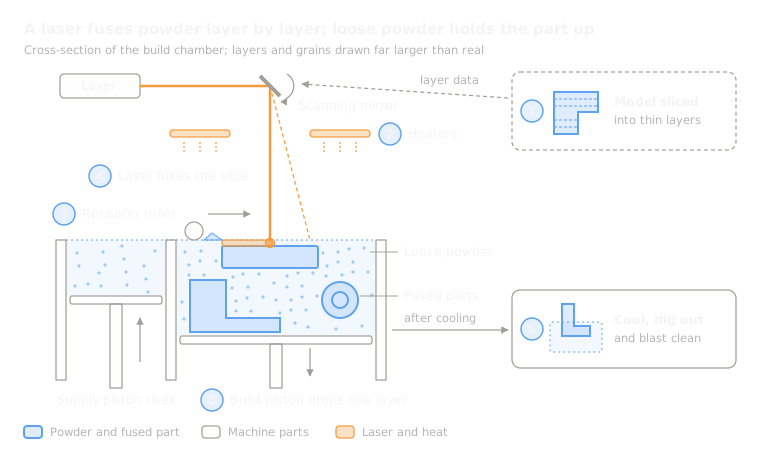 8.3Selective laser sintering (SLS)A laser fuses nylon powder in a bed; the loose powder supports the part (powder bed fusion)Open the lesson
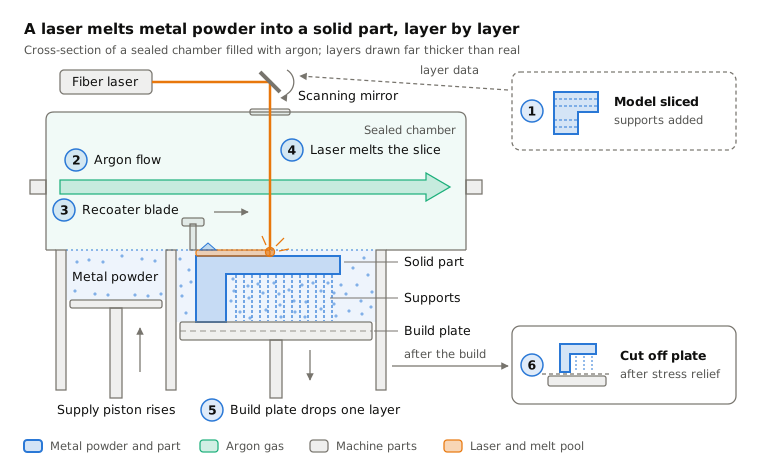
 8.4Laser powder bed fusion (metal, SLM/DMLS)A laser melts thin layers of metal powder (powder bed fusion)Open the lesson
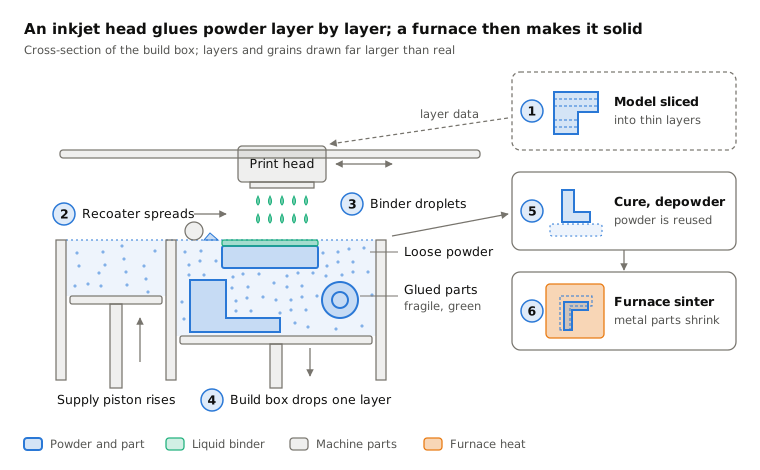
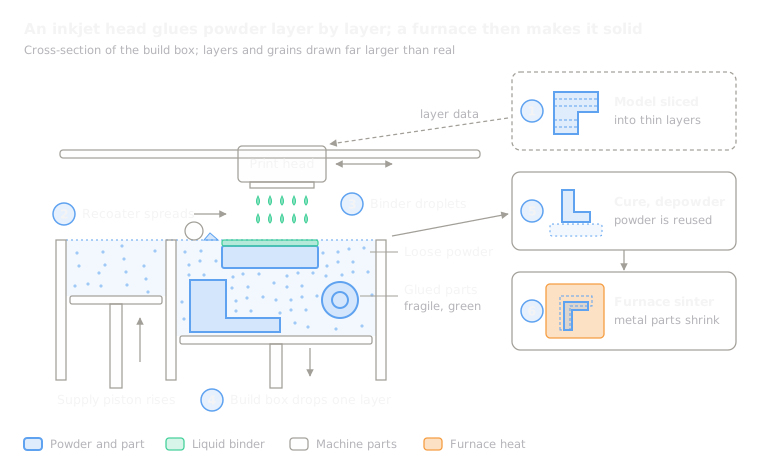 8.5Binder jettingInkjet heads glue powder, then the part is cured or sintered (binder jetting)Open the lesson
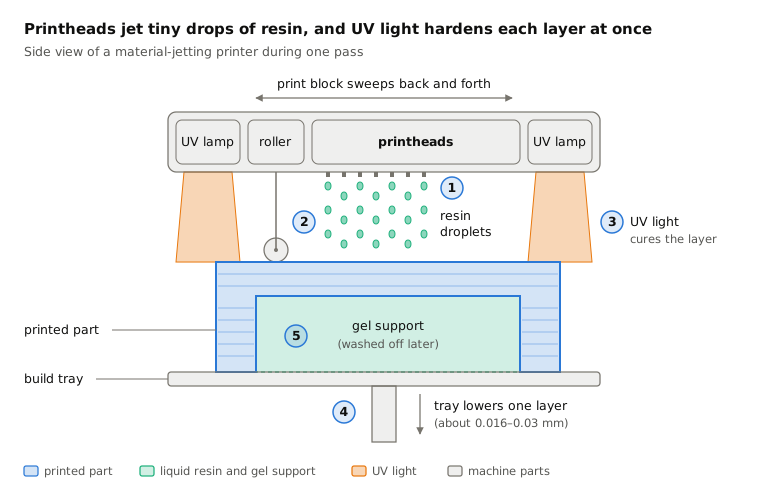
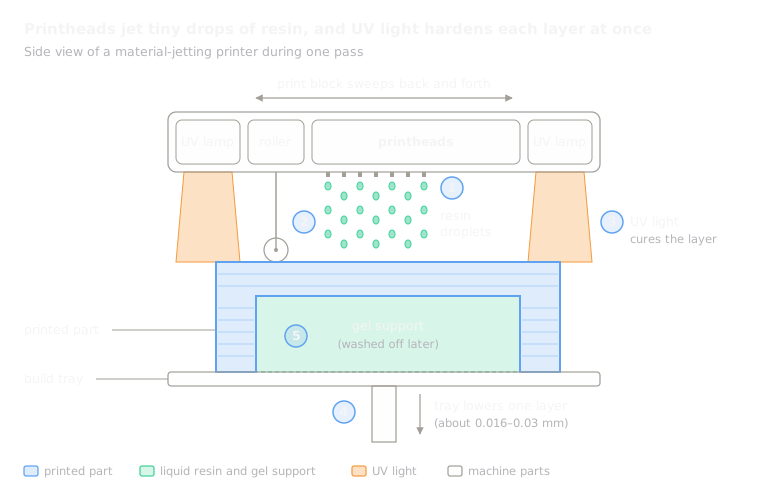 8.6Material jetting (PolyJet)Jets droplets of resin and cures them with UV light (material jetting)Open the lesson
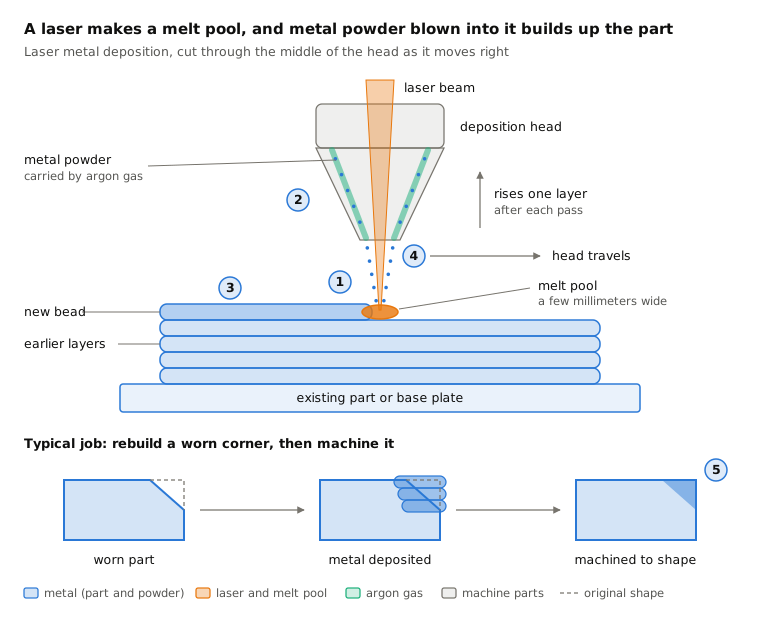
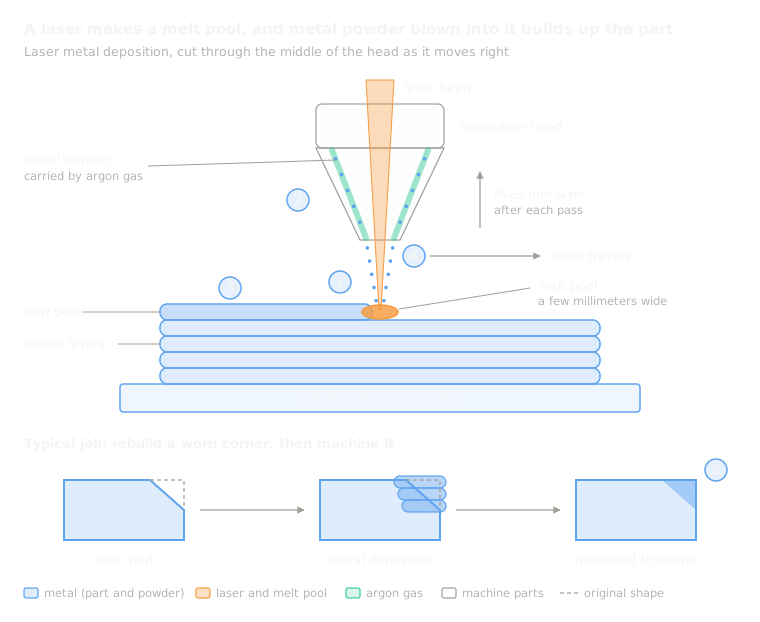 8.7Directed energy deposition (DED/LMD)A laser melts a pool on the part; blown powder adds metal (directed energy deposition)Open the lesson
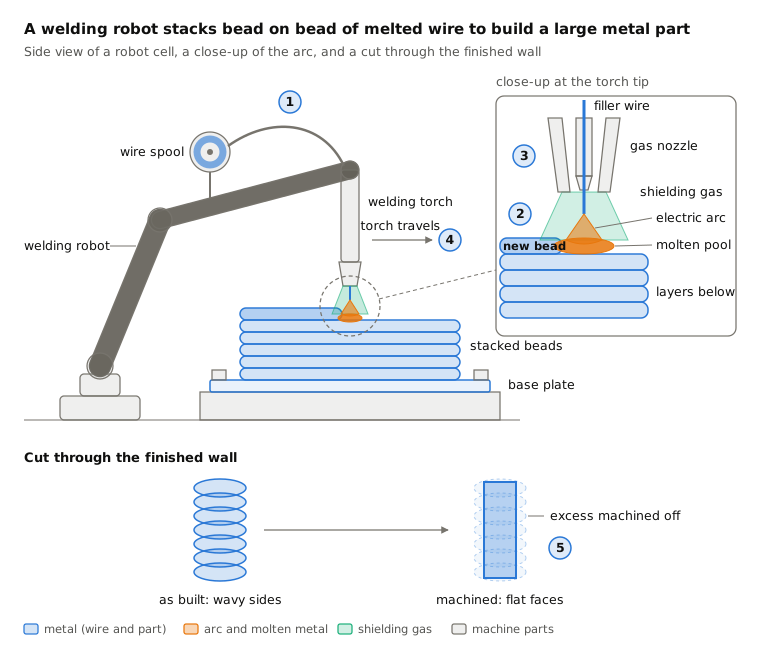
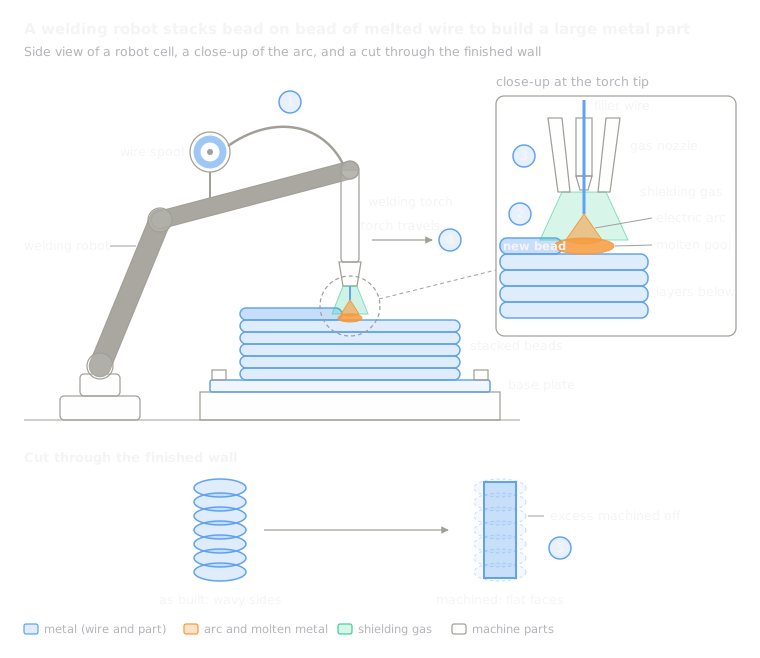 8.8Wire arc additive manufacturing (WAAM)A welding robot stacks arc-melted wire into beads (directed energy deposition)Open the lesson
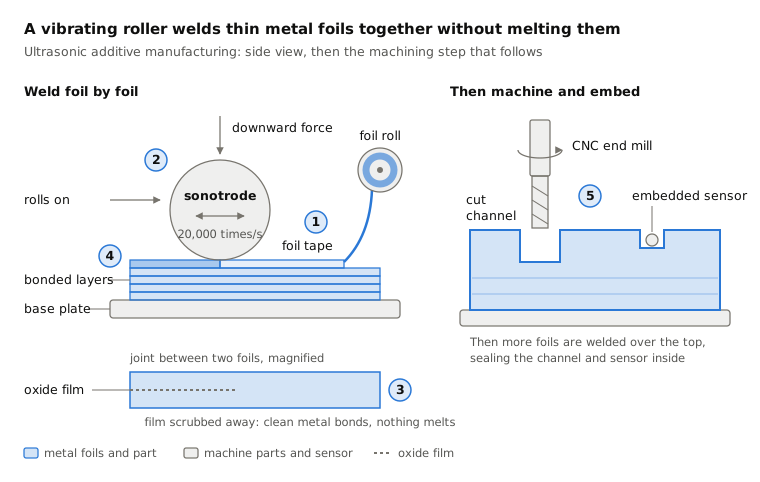
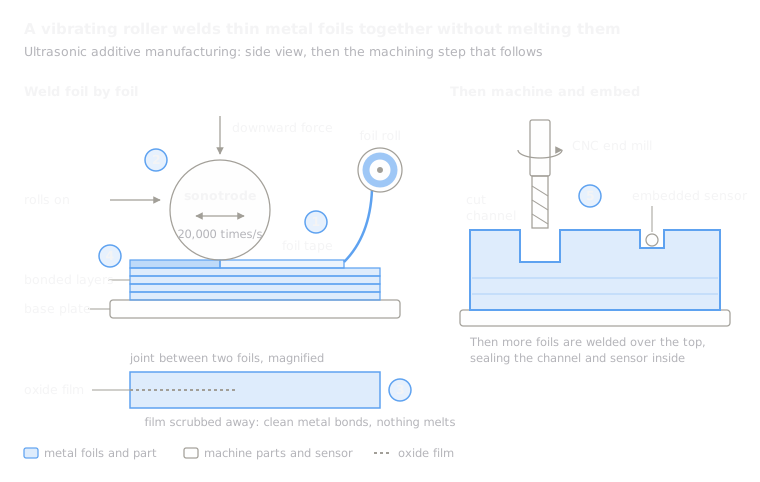 8.9Ultrasonic additive manufacturing (UAM)Ultrasonic vibration welds metal foils without melting, then a mill trims them (sheet lamination)Open the lesson
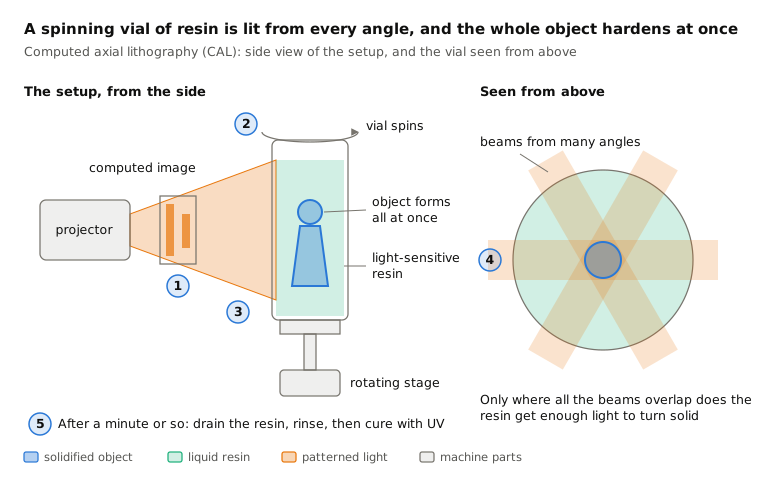
 8.10Volumetric printing (CAL)Light from every angle cures a spinning vial of resin all at once (volumetric printing)Open the lesson
Try it
Put AI to work in your CAD.
Model parts, generate drawings and automate the repetitive work inside your CAD software.