

Screen printing
Ink pushed through a mesh stencil
Screen printing pushes ink through a fine mesh that is blocked everywhere except where the design should appear. It prints the graphics on many T-shirts, the white lettering on circuit boards and the silver lines on solar cells. It lays down thick, opaque ink on almost any surface, flat or curved.
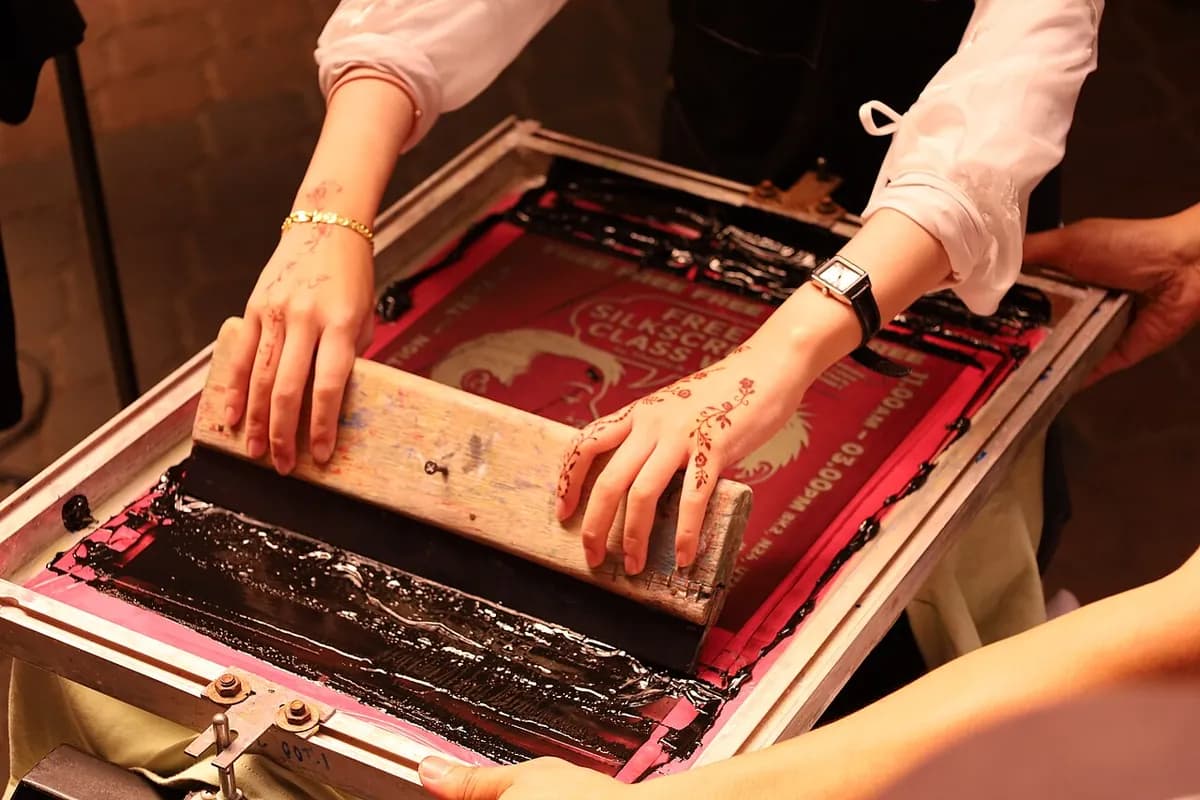
How it works
Make the stencil. A fine mesh of polyester or steel threads is stretched on a frame and coated with emulsion (a light-sensitive liquid). UV light shines through a film printed with the design in black. The light hardens the emulsion everywhere except under the design, which washes out with water and leaves open mesh.
Set up the screen. The screen is clamped a few millimeters above the substrate (the part being printed). This off-contact gap lets the mesh spring away after printing. The part is registered (positioned exactly) against stops or held by a vacuum bed.
Flood the screen. Ink is poured onto the screen and spread over the design with a light pass. This fills the open mesh without printing yet.
Make the print stroke. A squeegee (a flexible rubber blade) presses the mesh down onto the part and sweeps across. Ink is forced through the open mesh, while the stencil blocks it everywhere else.
Snap off. Just behind the blade, the tensioned mesh springs back up and peels away from the wet ink. It leaves a clean, sharp deposit, typically a few to several tens of micrometers thick.
Dry or cure. The part goes through a dryer. Hot air or infrared cures plastisol inks at about 160 °C, while UV inks harden under UV lamps in seconds. Each extra color needs its own screen and its own pass.
Two cousins work the same way. Rotary screen printing uses a cylindrical screen with the squeegee inside, for fast printing of fabric and labels. Stencil printing replaces the mesh with a laser-cut metal foil to put solder paste on circuit boards.
Key facts
- Materials
- Plastisol, water-based, solvent-based and UV-curing inks, plus functional pastes (silver, carbon, insulators); printed on fabric, paper, plastic, glass, metal and ceramics
- Typical parts
- T-shirts, posters, bottles, control panels and nameplates, membrane switches, circuit boards, solar cells
- Part size
- From small labels to sheets over a meter wide; bottles and other curved items on special presses
- Precision
- Lines down to roughly 0.1 mm in graphics and a few tens of µm on solar-cell printers; color-to-color registration about ±0.1 mm
- Surface finish
- A raised ink layer, matte to gloss depending on the ink; plastisol on fabric feels slightly rubbery
- Batch size it suits
- From a few dozen prints to millions; screens are cheap, but each color needs setup
- Tooling and machine cost
- A screen costs tens of dollars, a manual press hundreds to thousands; automatic and electronics printers tens to hundreds of thousands
- Speed
- A manual press makes dozens of prints an hour; automatic presses hundreds to over a thousand; solar lines thousands of cells an hour
Strengths and limits
Strengths
- Thick, opaque, durable ink that covers even dark surfaces
- Prints on almost any material, flat or curved
- Cheap tooling and fast once set up
- Can print functional pastes: conductors, resistors, solar-cell contacts
Limits
- Each color needs its own screen and setup, so many-color designs cost more
- Fine detail is limited compared with offset or inkjet printing
- Setup and cleanup make very short runs expensive per piece
- Some inks and cleaning chemicals need ventilation and careful disposal
Where it's used
- Apparel and textilesT-shirts, sports jersey numbers, tote bags, printed fabric on rotary screens
- ElectronicsSolder mask and white legend text on circuit boards, membrane switches, sensors
- EnergySilver contact lines on silicon solar cells
- Automotive and glassBlack border band and heating lines on rear windows, dashboard dials
- Packaging and signsGlass bottles, cosmetic tubes, posters, signs and decals
- ArtLimited-edition prints and posters
How to recognize it
- A slightly raised ink layer you can feel with a fingertip, especially on T-shirts.
- Solid, flat colors with sharp edges, each color a separate layer; no dot pattern unless the artwork used halftones (dot patterns that fake shades).
- Small misalignments between colors (registration errors), seen as thin gaps or overlaps.
- On glass and circuit boards, crisp white or black lettering sitting on top of the surface.
Compare with
Watch it
Taino Ink · The whole process for beginners, from screen to dried print
Minneapolis Institute of Art · An artist's screenprinting process, explained by a museum
PepWear · T-shirt production in a working print shop
ROQ · An automatic carousel press that prints several colors in turn
See real photos
- Wikipedia: Screen printing — history, mesh, emulsion and squeegee, plus electronics and solar uses, with photos
- Wikimedia Commons photo search
Remember
- Screen printing is a stencil on a mesh: ink goes through where the mesh is open and nowhere else.
- A squeegee pushes the ink through, and the mesh snaps away to leave a clean, thick deposit.
- One screen per color; cheap tooling makes it work for small runs and huge ones.
More in Coatings and surface finishing
All 100 processes
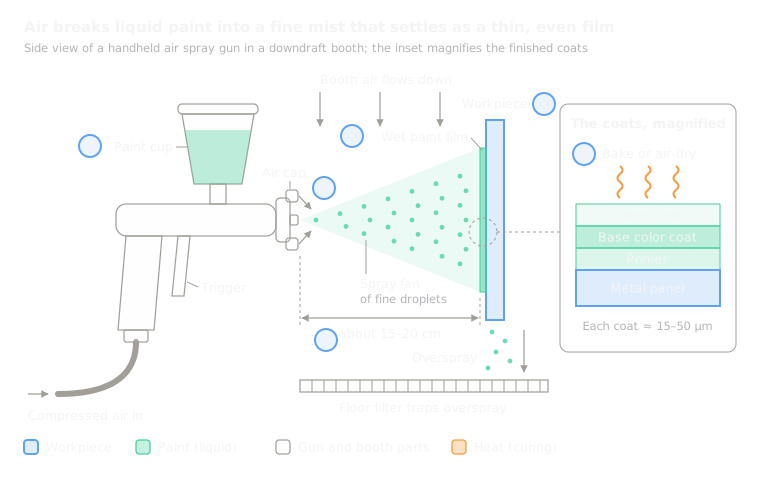 11.1Spray paintingLiquid paint atomized into a fine mist that dries or curesOpen the lesson
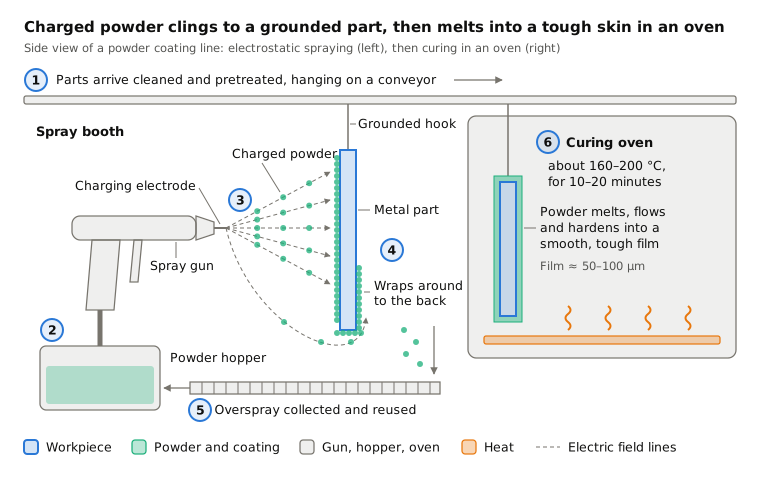
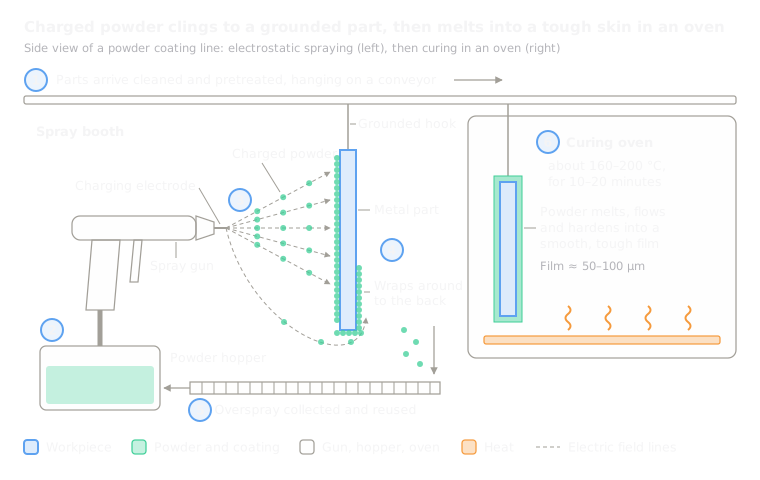 11.2Powder coatingCharged dry powder clings to the part, then melts in an ovenOpen the lesson
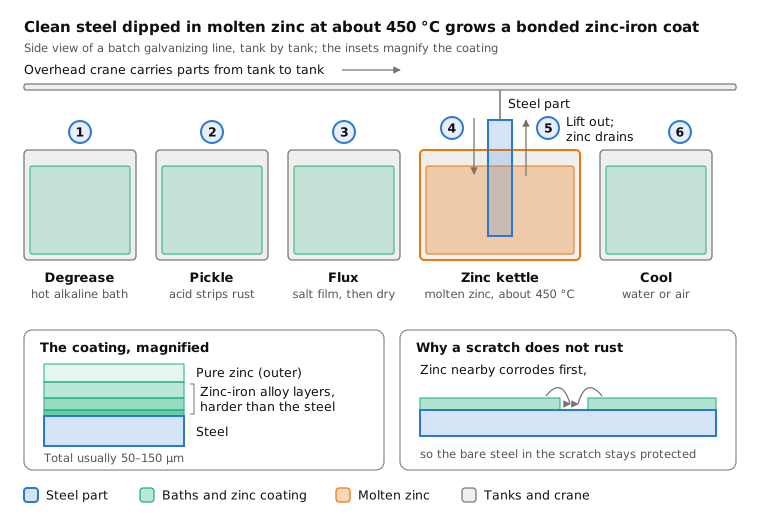
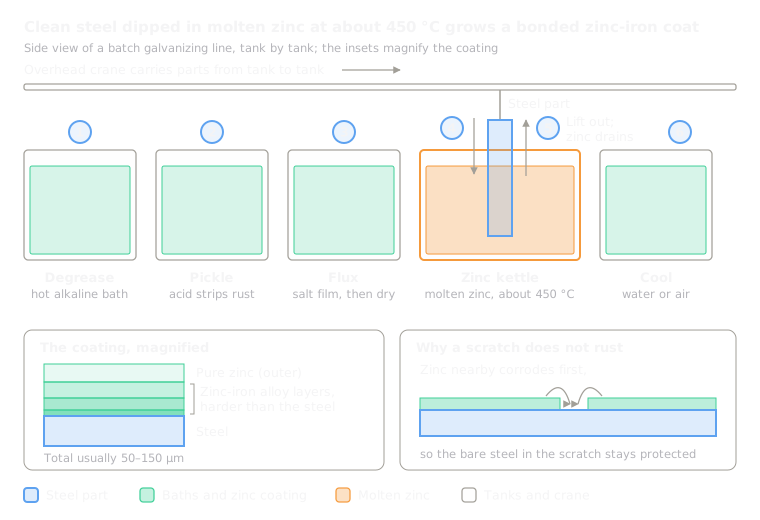 11.4Hot-dip galvanizingSteel dipped in molten zinc forms a bonded zinc layerOpen the lesson
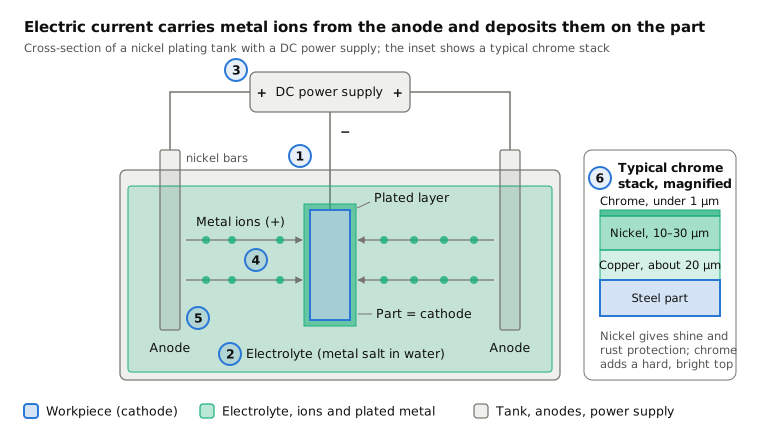
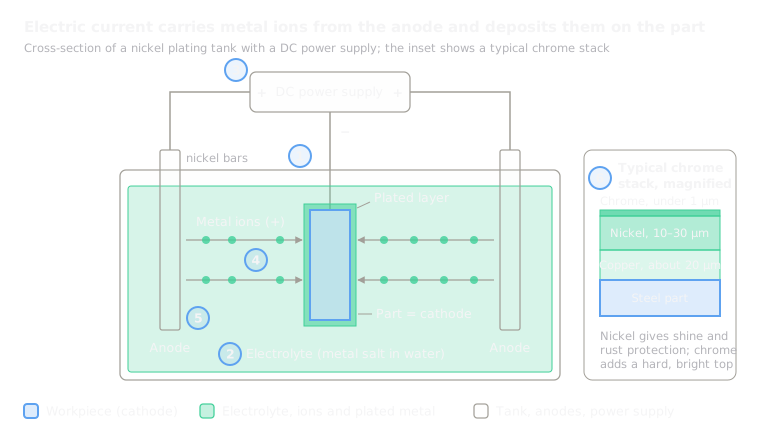 11.5Electroplating (chrome, nickel, zinc)Electric current deposits metal from a bathOpen the lesson
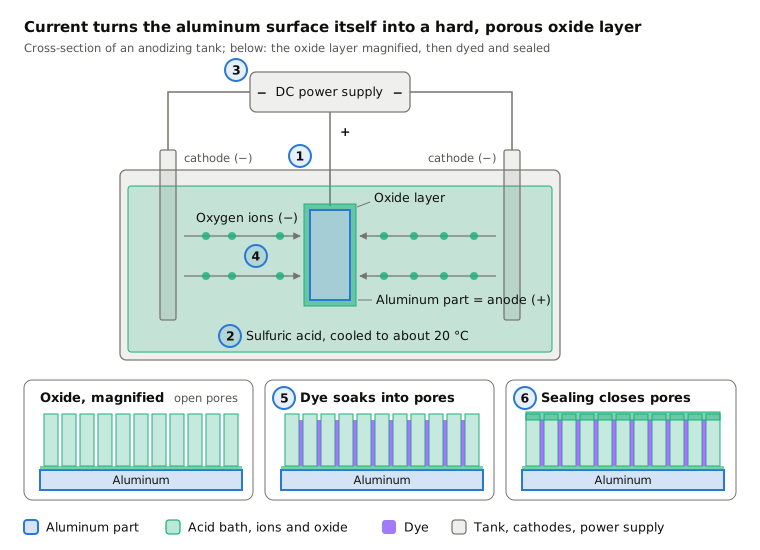
 11.6AnodizingCurrent grows a hard oxide out of aluminum itselfOpen the lesson
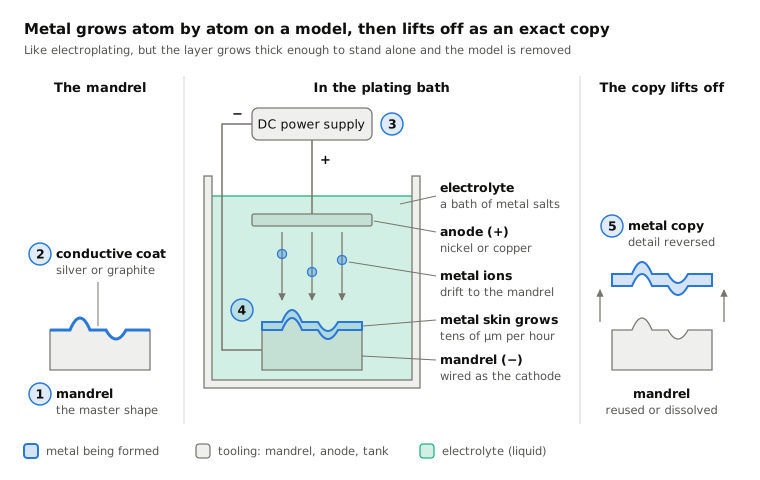
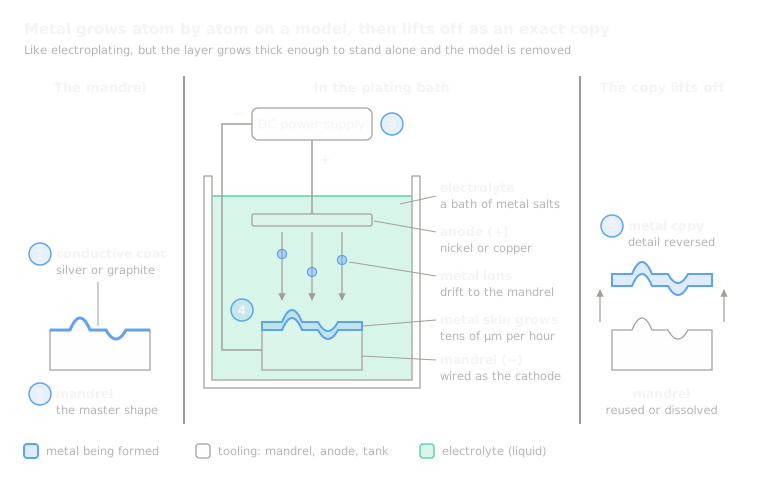 11.7ElectroformingPlating grown thick on a model, then lifted offOpen the lesson
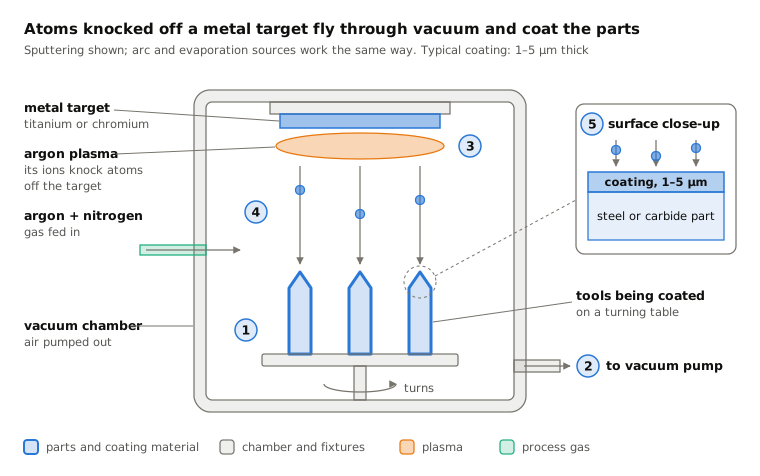
 11.8PVD coating (thin films in vacuum)Atoms knocked off a target coat parts in vacuumOpen the lesson
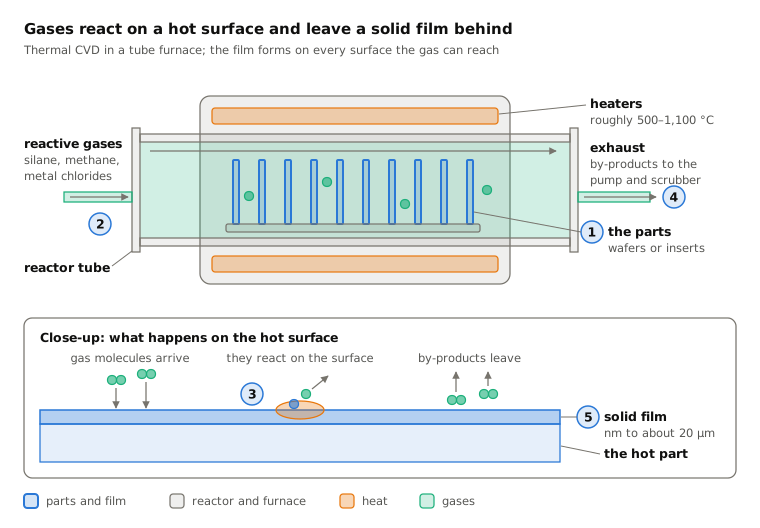
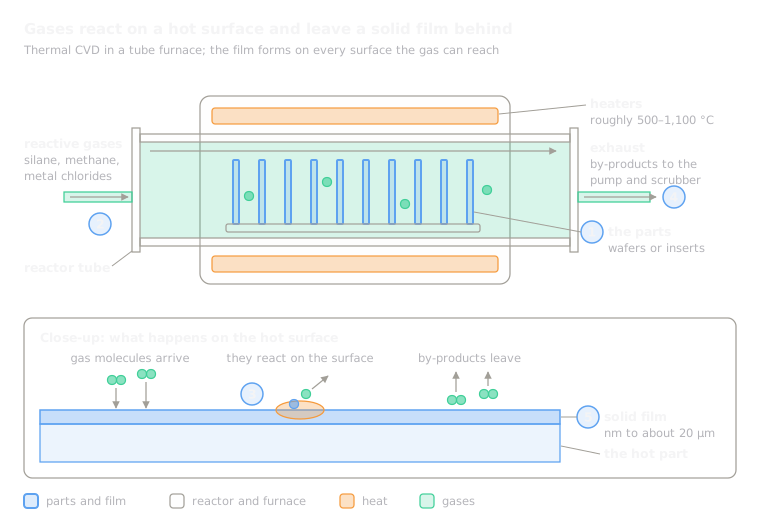 11.9CVD coatingGases react on a hot surface and leave a filmOpen the lesson
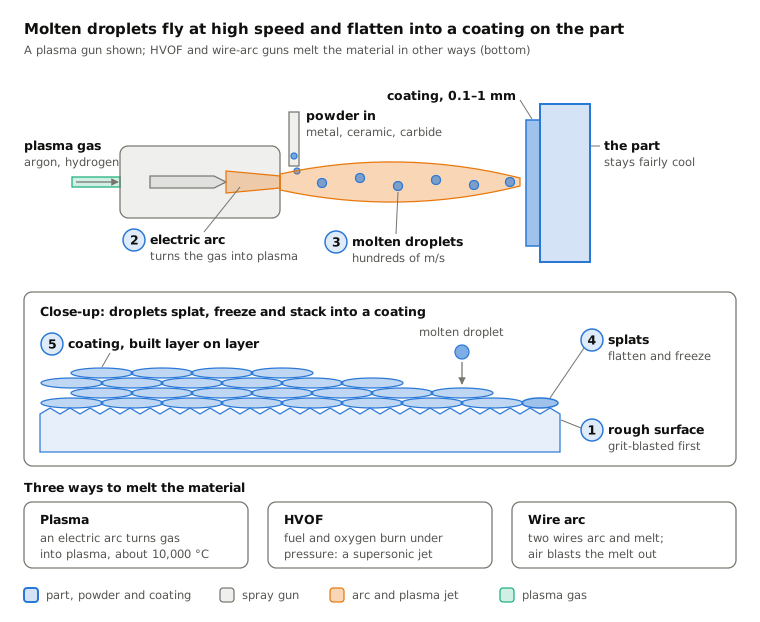
 11.10Thermal spraying (plasma, HVOF, arc)Melted droplets fired at a part stack into a layerOpen the lesson
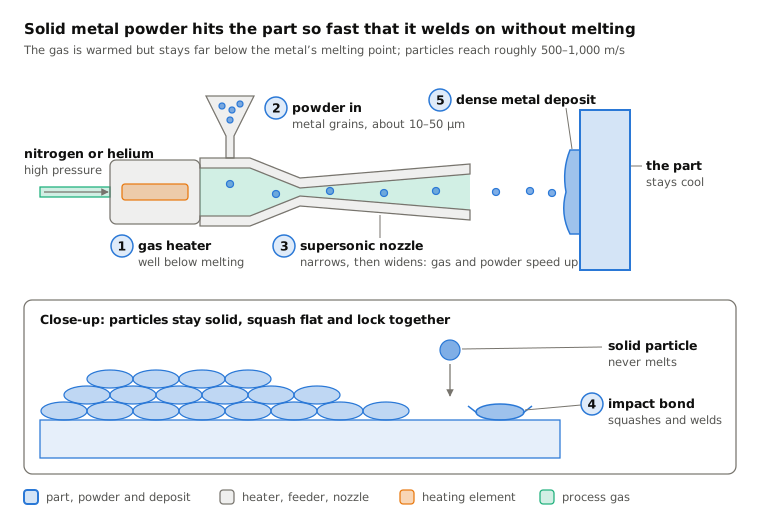
 11.11Cold spraySolid metal grains weld on by sheer speedOpen the lesson
Try it
Put AI to work in your CAD.
Model parts, generate drawings and automate the repetitive work inside your CAD software.